
WPF - MVVM Light 활용
업데이트:
WPF MVVM Light
Outline
WPF를 활용한 윈돌우 프로그램을 개발할 때 사용하는 MVVM Light는 무료 프레임워크이며, MVVM 패턴 사용을 편하게 해줍니다.
그럼 MVVM 패턴은 무엇일까요?

MVVM은 크게 View, ViewModel, Model로 구성된 디자인 패턴입니다.
WPF는 여러 패턴 중에서도 MVVM 패턴을 사용하여 응용 프로그램을 쉽게 작성하기 위해 디자인 되어있기 때문에 MVVM은 WPF 개발자에게 필수라 할 수 있습니다.
또한 데이터 바인딩을 통해 View와 ViewModel 간의 관계를 느슨하게 하여 코드 복잡성을 크게 줄일 수 있습니다.
WPF에는 다양한 프레임워크를 사용할 수 있지만 가장 보편적인 MVVM Light를 사용해보려고 합니다.
이번 포스팅에서는 MVVM Light의 키워드를 설명하고 간단한 예제를 다뤄보겠습니다.
RelayCommand
View에는 이벤트 처리 메서드가 없지만 사용자가 단추를 클릭하면 프로그램은 이에 반응하고 사용자의 요청에 응답합니다.
이것이 작동하는 이유는 컨트롤들의 Command 속성이 설정되었기 때문입니다.
이러한 바인딩은 사용자가 컨트롤을 클릭하면 ViewModel 실행을 통해 ICommand 개체가 공개되도록 합니다.
ICommand를 구현하는 RelayCommand는 XAML에 선언된 뷰에서 ViewModel의 기능을 손쉽게 사용할 수 있도록 해주는 어댑터라고 생각할 수 있습니다.
ViewModelBase
ViewModelBase는 계층의 루트 클래스입니다.
일반적으로 INotifyPropertyChanged 인터페이스를 구현하며 DisplayName 속성을 가집니다.
INotifyPropertChanged 인터페이스에는 PropertyChanged라는 이벤트가 있는데, ViewModel 개체의 속성값이 변경될 경우 WPF 바인딩 시스템은 새 값을 수신하여 렌더링합니다.
Model
본 예제에서는 사용되지 않지만, MVVM 패턴에서 모델은 비즈니스 로직과 데이터를 캡슐화합니다.
Model은 View에 바인딩되기 쉽게 해주는 기능들을 구현합니다. INotifyPropertyChanged 같이 변경 통지를 지원하는 인터페이스를 구현합니다.
보통 ViewModel의 Data에서 RaisePropertyChanged를 호출합니다.
하지만 하나의 데이터 클래스를 이룰 경우, 그것은 모델 클래스 하나로 관리하고 모델클래스 내부에서
RaisePropertyChanged를 호출합니다.
View
화면에 보여지는 부분입니다.
View는 DataContext 를 통해 ViewModel을 참조합니다. View 내부의 컨트롤들은 그 Property
들에 바인딩된 데이터이며 viewmodel에 의해 노출된 커맨드들입니다.
하지만 모든 커맨드를 뷰모델에서 정의할 수는 없습니다.
View의 CodeBehind는 XAML에서 표현하기 어려운 비주얼 Behavior를 구현하기 위해서 UI 로직을 정의하거나, 뷰에서 정의된 특정 UI 컨트롤들에 대한 직접적인 참조를 요청할 수도 있습니다.
Ready
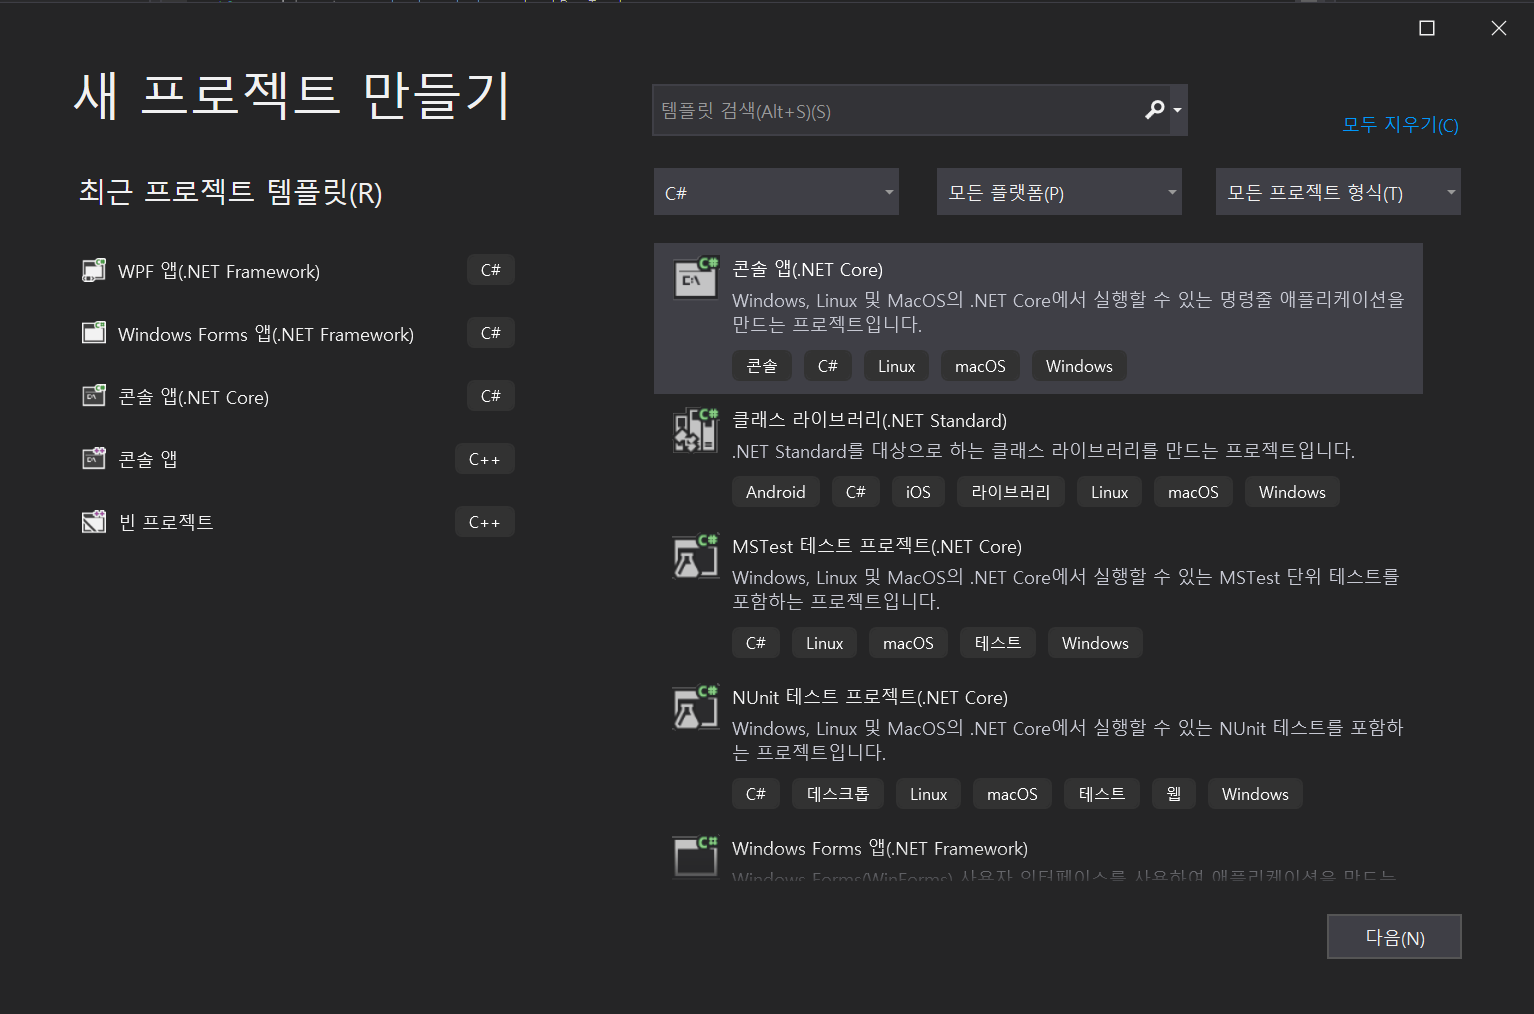
프로젝트 생성
우선 WPF 프로젝트를 만듭니다.
프로젝트 명은 MVVMLightSample1 으로 합니다.
MVVM Light 프레임워크 설치
상단 탭의 도구 - NuGet 패키지 관리자를 통해 MVVM Light를 설치합니다.

이제 ViewModel 폴더가 생성되고 개발을 시작하기 위한 간단한 구조가 완성되었습니다.
Process
1. SenderViewModel
우선 SenderViewModel을 생성합니다. 이 클래스는 메시지를 전송하는 뷰의 로직을 담당하여 사용되는 뷰 모델입니다.
RelayCommand는 ICommand 인터페이스를 상속받은 클래스로써, 이를 통해 뷰의 버튼을 처리합니다.
그리고 RelayCommand의 객체 인자로 동작을 할 메서드를 넣어줍니다.
여기서는 Messenger로 관리하도록 해봅시다.
namespace MVVMLightSample1.ViewModel
{
    public class SenderViewModel : ViewModelBase
    {
        public RelayCommand OnClickCommand { get; set; }
        private string _textBoxText;

        public string TextBoxText
        {
            get { return _textBoxText; }
            set
            {
                _textBoxText = value;
                RaisePropertyChanged("TextBoxText");
            }
        }

        public SenderViewModel()
        {
            OnClickCommand = new RelayCommand(OnClickCommandAction, null);
        }

        private void OnClickCommandAction()
        {
            var viewModelMessage = new ViewModelMessage()
            {
                Text = TextBoxText
            };

            Messenger.Default.Send(viewModelMessage);
        }
    }
}
2. ViewModelMessage
Messages 폴더를 만들고 ViewModelMessage 클래스를 생성합니다.
이 클래스는 데이터를 주고받을 데이터를 담고있습니다.
namespace MVVMLightSample1.Messages
{
    public class ViewModelMessage : MessageBase
    {
        public string Text { get; set; }
    }
}
3. ReceiverViewModel
메시지를 받을 뷰의 뷰모델을 구성합니다.
생성자로 메시지를 받아서 처리하도록 아래의 코드처럼 작성합니다.
namespace MVVMLightSample1.ViewModel
{
    public class ReceiverViewModel : ViewModelBase
    {
        private string _contentText;

        public string ContentText
        {
            get { return _contentText; }
            set
            {
                _contentText = value;
                RaisePropertyChanged("ContentText");
            }
        }

        public ReceiverViewModel()
        {
            Messenger.Default.Register<ViewModelMessage>(this, OnReceiveMessageAction);
        }

        private void OnReceiveMessageAction(ViewModelMessage obj)
        {
            ContentText = obj.Text;
        }
    }
}
4. SenderView
이제 실제로 보여질 뷰로 구성합니다.
Blend로 작성해도되고 그냥 작성해도 됩니다.
View 폴더를 생성하고 거기다 사용자 정의 컨트롤(WPF)로 만들어서 작성합니다.
<UserControl x:Class="MVVMLightSample1.View.SenderView"
             xmlns="http://schemas.microsoft.com/winfx/2006/xaml/presentation"
             xmlns:x="http://schemas.microsoft.com/winfx/2006/xaml"
             xmlns:mc="http://schemas.openxmlformats.org/markup-compatibility/2006"
             xmlns:d="http://schemas.microsoft.com/expression/blend/2008"
             xmlns:i="clr-namespace:System.Windows.Interactivity;assembly=System.Windows.Interactivity"
             xmlns:Command="http://www.galasoft.ch/mvvmlight"
             xmlns:local="clr-namespace:MVVMLightSample1.View"
             mc:Ignorable="d"
             d:DesignHeight="300" d:DesignWidth="300" DataContext="{Binding Source={StaticResource Locator}, Path=SenderViewModel}">

    <Grid>
        <Label Content="Sender" Margin="90, 34, 0, 232" />
        <TextBox HorizontalAlignment="Left" Width="120" Height="20" Margin="50, 266, 0, 11" Text="{Binding TextBoxText}" />
        <Button Content="Send" Width="50" Height="25" Margin="183, 265, 67, 10">
            <i:Interaction.Triggers>
                <i:EventTrigger EventName="Click">
                    <Command:EventToCommand Command="{Binding OnClickCommand}" />
                </i:EventTrigger>
            </i:Interaction.Triggers>
        </Button>
    </Grid>

</UserControl>
여기서 다음과 같은 문구를 사용하여 버튼에 바인딩을 합니다.
xmlns:Command="http://www.galasoft.ch/mvvmlight"
또한 다음과 같은 문구로 데이터 컨텍스트를 결정하는데 이는 Locator을 참조하면 Locator가 해당 뷰모델을 찾아줍니다.
DataContext="{Binding Source={StaticResource Locator}, Path=SenderViewModel
이는 app.xaml을 참고하면 알 수 있습니다.
ViewModelLocator이라는 놈을 Locator 키워드로 참조가능하게 해줍니다.
ViewModelLocator은 어떤 놈일지 잠시후에 알아보도록 합시다.
<Application x:Class="MVVMLightSample1.App" xmlns="http://schemas.microsoft.com/winfx/2006/xaml/presentation" xmlns:x="http://schemas.microsoft.com/winfx/2006/xaml" xmlns:local="clr-namespace:MVVMLightSample1" StartupUri="MainWindow.xaml" xmlns:d="http://schemas.microsoft.com/expression/blend/2008" d1p1:Ignorable="d" xmlns:d1p1="http://schemas.openxmlformats.org/markup-compatibility/2006" >
  <Application.Resources>
    <ResourceDictionary>
      <vm:ViewModelLocator x:Key="Locator" d:IsDataSource="True" xmlns:vm="clr-namespace:MVVMLightSample1.ViewModel" />
    </ResourceDictionary>
  </Application.Resources>
</Application>
5. ReceiverView
<UserControl x:Class="MVVMLightSample1.View.ReceiverView"
             xmlns="http://schemas.microsoft.com/winfx/2006/xaml/presentation"
             xmlns:x="http://schemas.microsoft.com/winfx/2006/xaml"
             xmlns:mc="http://schemas.openxmlformats.org/markup-compatibility/2006"
             xmlns:d="http://schemas.microsoft.com/expression/blend/2008"
             xmlns:local="clr-namespace:MVVMLightSample1.View"
             mc:Ignorable="d"
             d:DesignHeight="300" d:DesignWidth="300" DataContext="{Binding Source={StaticResource Locator}, Path=ReceiverViewModel}">
    <Grid>
        <Label Content="Receiver" Margin="90, 34, 0, 232" />
        <Label Content="{Binding ContentText}" FontSize="20" Margin="65, 255, 40, 0" />
    </Grid>
</UserControl>
6. MainWindow
뷰 2개를 메인 윈도우 창에 포함합니다.
<Window x:Class="MVVMLightSample1.MainWindow"
        xmlns="http://schemas.microsoft.com/winfx/2006/xaml/presentation"
        xmlns:x="http://schemas.microsoft.com/winfx/2006/xaml"
        xmlns:d="http://schemas.microsoft.com/expression/blend/2008"
        xmlns:mc="http://schemas.openxmlformats.org/markup-compatibility/2006"
        xmlns:view="clr-namespace:MVVMLightSample1.View"
        xmlns:local="clr-namespace:MVVMLightSample1"
        mc:Ignorable="d"
        Title="MainWindow" Height="350" Width="525">
    <Grid>
        <Grid.RowDefinitions>
            <RowDefinition Height="Auto" />
        </Grid.RowDefinitions>
        <Grid.ColumnDefinitions>
            <ColumnDefinition Width="Auto" />
            <ColumnDefinition Width="Auto" />
        </Grid.ColumnDefinitions>
        <view:ReceiverView Grid.Row="0" Grid.Column="0" />
        <view:SenderView Grid.Row="0" Grid.Column="1" Foreground="Black" Background="#FFBA33CF" />
        <GridSplitter HorizontalAlignment="Left" Width="5" Height="320" Margin="245, 0, 0, -21" />
    </Grid>
</Window>
7. ViewModelLocator
ViewModelLocator은 뷰모델들을 모두 관리합니다.
따라서 생성자로 모든 뷰모델들을 등록하고 해당 뷰모델들을 언제든 Locator을 통해 참조할 수 있습니다.
namespace MVVMLightSample1.ViewModel
{
    /// <summary>
    /// This class contains static references to all the view models in the
    /// application and provides an entry point for the bindings.
    /// </summary>
    public class ViewModelLocator
    {
        /// <summary>
        /// Initializes a new instance of the ViewModelLocator class.
        /// </summary>
        public ViewModelLocator()
        {
            ServiceLocator.SetLocatorProvider(() => SimpleIoc.Default);

            // 아래의 코드를 작성합니다 - 시작
            SimpleIoc.Default.Register<SenderViewModel>();
            SimpleIoc.Default.Register<ReceiverViewModel>();
            // 아래의 코드를 작성합니다 -
        }

        public MainViewModel Main
        {
            get
            {
                return ServiceLocator.Current.GetInstance<MainViewModel>();
            }
        }

        public SenderViewModel SenderViewModel
        {
            get
            {
                return ServiceLocator.Current.GetInstance<SenderViewModel>();
            }
        }

        public ReceiverViewModel ReceiverViewModel
        {
            get
            {
                return ServiceLocator.Current.GetInstance<ReceiverViewModel>();
            }
        }

        public static void Cleanup()
        {
            // TODO Clear the ViewModels
        }
    }
}
이제 뷰모에서 데이터 컨텍스트를 저렇게 참조하는 이유를 알 수 있습니다.
Locator 리소스를 가져와서 거기서 필요한 ViewModel을 찾습니다.
DataContext="{Binding Source={StaticResource Locator}, Path=SenderViewModel}"
Result
클래스 구조

결과
텍스트를 입력하고 버튼을 누르면 다른 뷰가 뷰모델을 통해 업데이트가 됨을 확인할 수 있습니다.

댓글남기기